This section explains how to use a scanner with Kooka and GIMP. Please refer to Section 7, “Installing and Sharing Scanners” for instructions on how to set up your scanner.
While there are many
scanning applications available, we chose
Kooka because it is both simple and complete. Make sure the
kooka package is
installed.
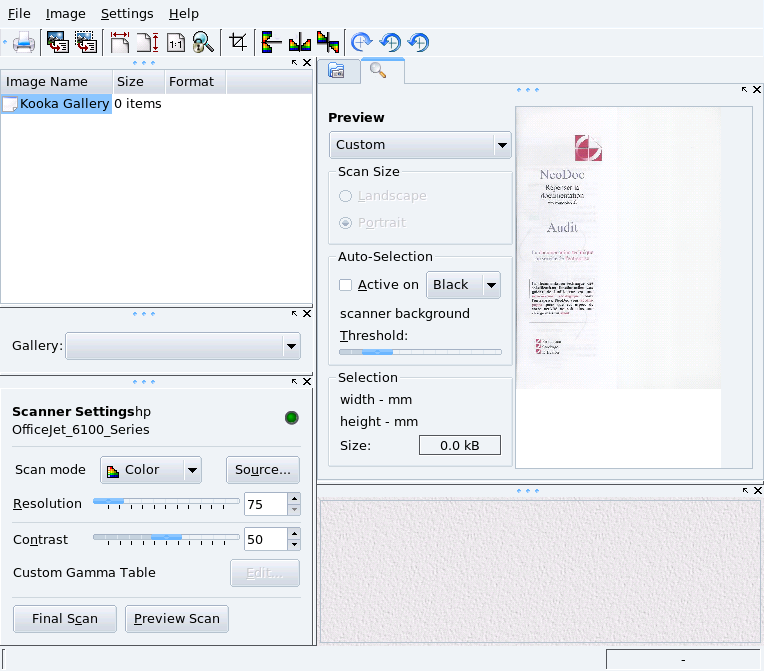
You can launch Kooka through the + → menu item.
Choosing the Scanning Media Device. The first time you launch Kooka, a dialog prompts you to choose the scanning device to use. Check the box to always use this device.
Place your document into the scanner, and click the button. The image appears in the right pane.
Click and drag your mouse over the preview image to select the area to be scanned
Set the scan parameters, especially the Scan mode and Resolution.
In the window that pops up, choose the image format to be used to store that scan. The image then stacks on the images list, top left.
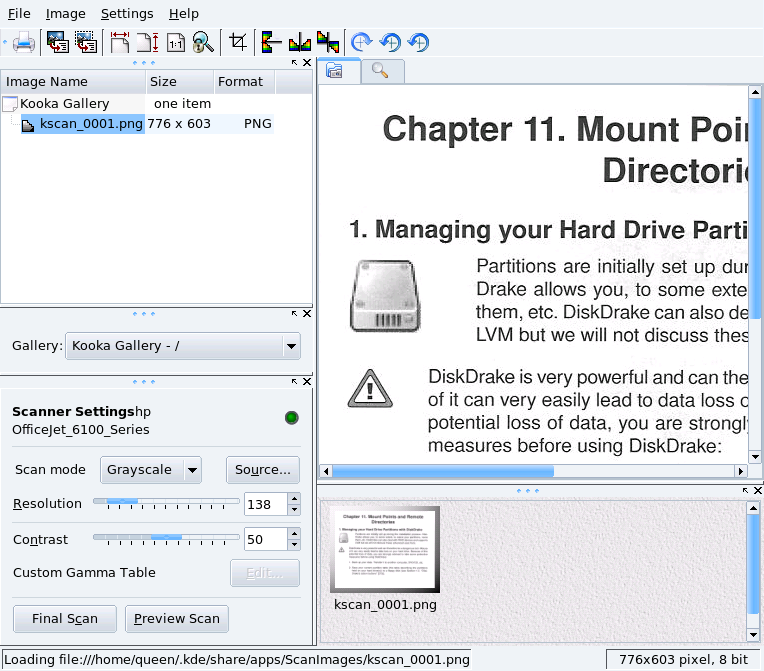
 Check the result by opening the final scan
tab. You can then change parameters and scan again if required.
Check the result by opening the final scan
tab. You can then change parameters and scan again if required.If all looks fine, you can save your image wherever you want by right clicking on it in the list of images. Remember to clean that list from time to time by deleting items from it.
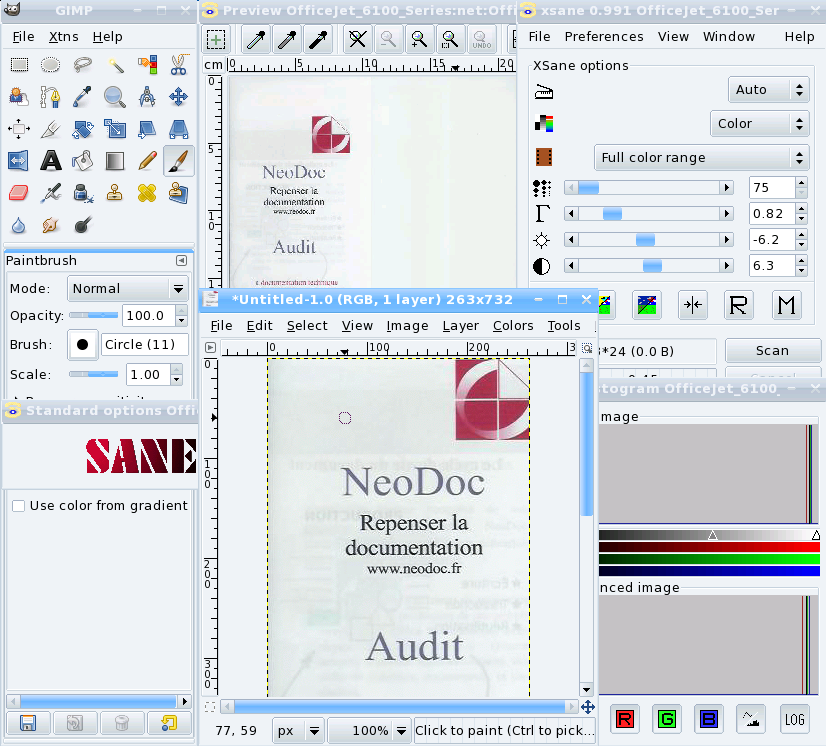
Install the
xsane-gimp package to be able to import your
images directly into GIMP for image retouching
tasks (see Section 1, “Graphic Art And Image Manipulation”). Choose + → to launch
XSane.
Then, click on in XSane's Preview SCANNER_DEVICE_NAME window, select the area to be scanned by dragging the selection square and its borders around, and click on on XSane window. The image is sent directly to GIMP.

Most modern scanners boast high resolutions, such as 1200, 1600 or 2400 DPI (Dots Per Inch). But it would be a mistake to perform all of your scanning at the maximum available resolution. You will notice very little — if any — quality difference between a 300 and a 600 DPI image scan, but the file size will grow exponentially, up to many MBs of disk space for a single image file.
The resolution value should be chosen according to the device on which the image is to be reproduced. For images to be viewed on computer monitors, e.g. for web sites, the resolution should be close to typical monitor resolution values, between 70 and 100 DPI. Higher values will result not only in bigger images, but the dimensions will also increase, so that an image scanned at 160 DPI instead of 80 will be about twice as large[7].
If you intend to print your images, a resolution of 300 DPI should be enough for most home printers. Increase this value if you have a very high quality printer.
Higher values should be chosen only for specific uses, such as enlarged images on very high quality printers, or quality scans of black and white originals. You will have to experiment a little until you're satisfied with the results.
By installing the
ocrad package, you will be able to use
Kooka to perform
OCR tasks. The Figure 5.11, “Scanned Document in Kooka” shows
Kooka with a document scanned as explained in Section 3.1, “Scan Documents with Kooka”.
![[Tip]](images/tip.png) |
Tip |
|---|---|
For better results, you should set the scanning mode to Lineart and the resolution to no less than 300 DPI. |
 Once the document is scanned, you can click on
this icon ( → ) and click on
. The resulting text appears along with a spell-correction window.
[7] However scanning at a higher resolution and then reducing the resulting image size using graphic manipulation software such as GIMP is one method often used to obtain better results than directly scanning at the desired final resolution.


![[Note]](images/note.png)